Uploading a Template on AWS CloudFormation
We'll be uploading the YAML template created on my previous blogpost. Comprised of an EC2 instance that has an Elastic IP and Security group attached


Here is the template created from the previous blogpost
AWSTemplateFormatVersion: 2010-09-09
Description: Creating an ec2 instance that has an EIP and Security group attached to it

Resources:
  HTTpSShSecurityGroup:
    Type: AWS::EC2::SecurityGroup
    Properties:
      GroupDescription: Allow HTTP and SSH traffic
      GroupName: DemoSecurityGroup
      SecurityGroupIngress:
        - IpProtocol: tcp
          FromPort: 80
          ToPort: 80
          CidrIp: 0.0.0.0/0
        - IpProtocol: tcp
          FromPort: 22
          ToPort: 22
          CidrIp: 0.0.0.0/0
  MyEC2Instance:
    Type: AWS::EC2::Instance
    Properties:
      ImageId: ami-04e5276ebb8451442   #check for the correct ami-id from the ec2 console
      InstanceType: t2.micro
      Tags:
        - Key: Name
          Value: DevInstance
      UserData:
        Fn::Base64: |
          #!/bin/bash -xe
          yum update -y
          yum install -y httpd
          systemctl start httpd
          systemctl enable httpd
          echo '<html><h1>Hello From Your Web Server!</h1></html>' > /var/www/html/index.html
      SecurityGroups:
        - !Ref HTTpSShSecurityGroup
  MyElasticIP:
    Type: AWS::EC2::EIP
    Properties:
      InstanceId: !Ref MyEC2Instance
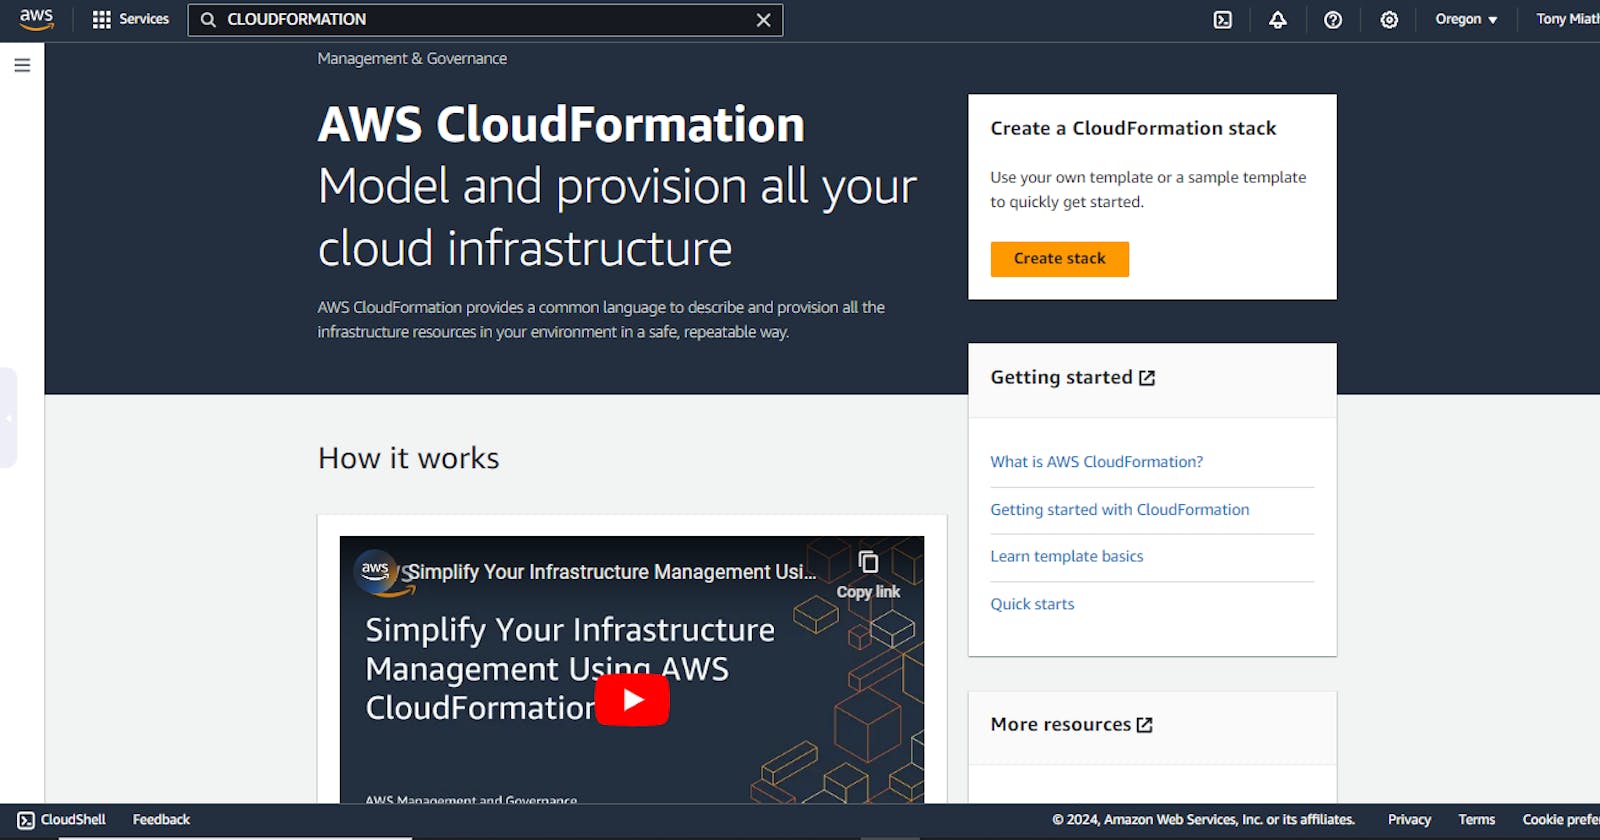
Next step is to upload the template on the AWS CloudFormation console. But we will need to first log in to our AWS account first.
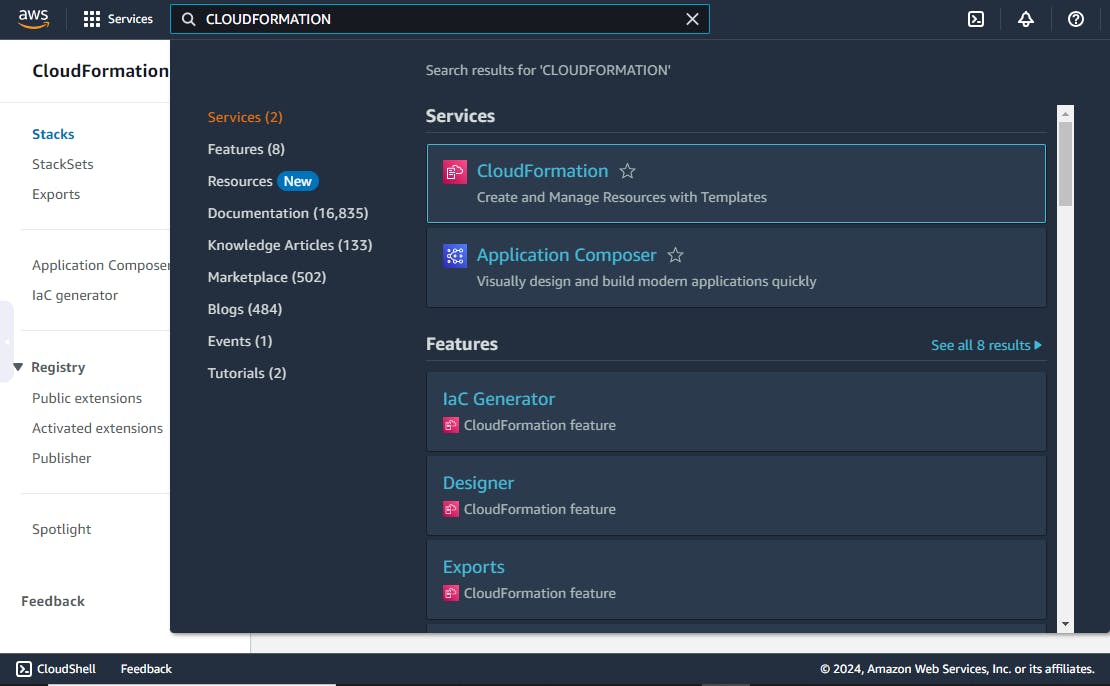
After logging in, search for 'CloudFormation' in the searchbox.
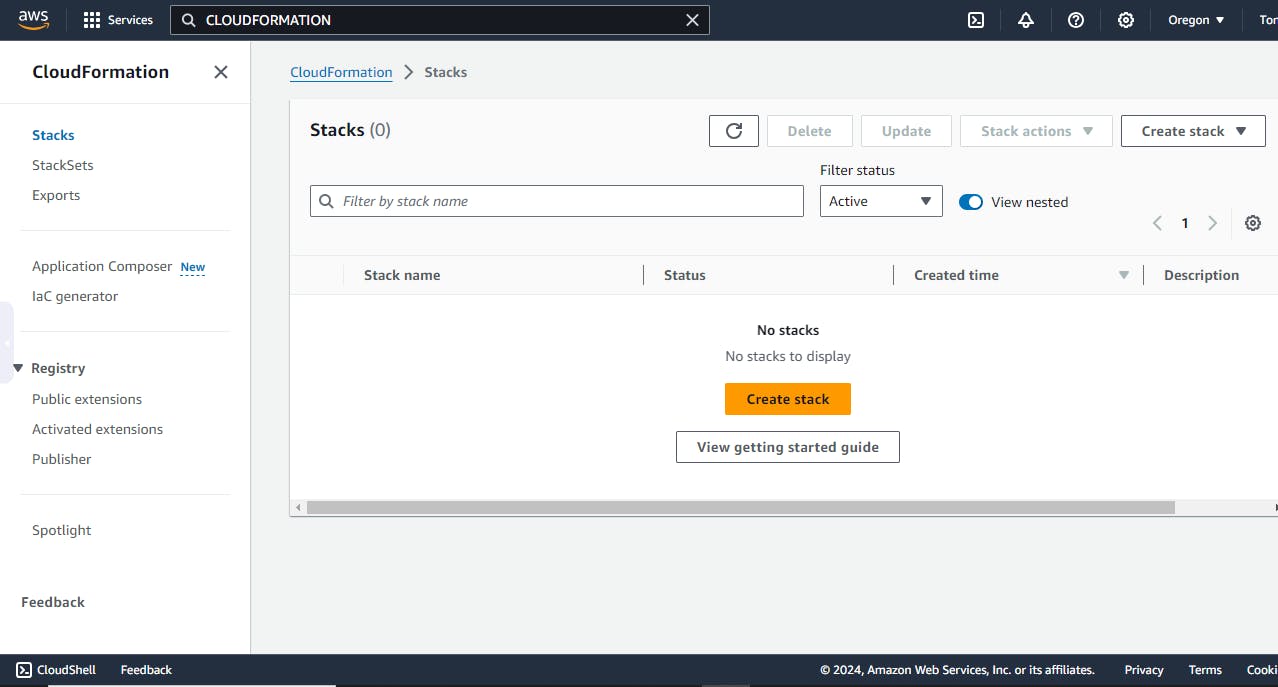
Once you're in the CloudFormation console, select 'Create Stack'
Then finally upload your template
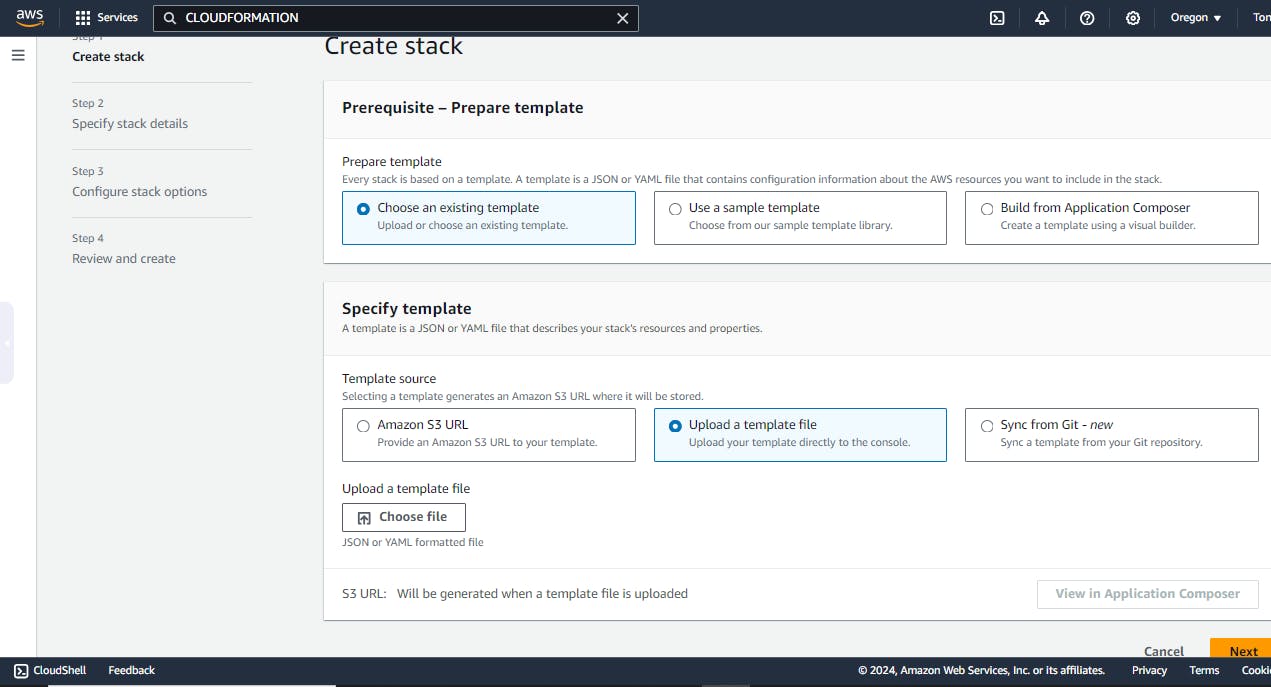
click on 'Choose file' to upload your template then click 'Next'.
A new page will come up where you will be required to key in your stack name.

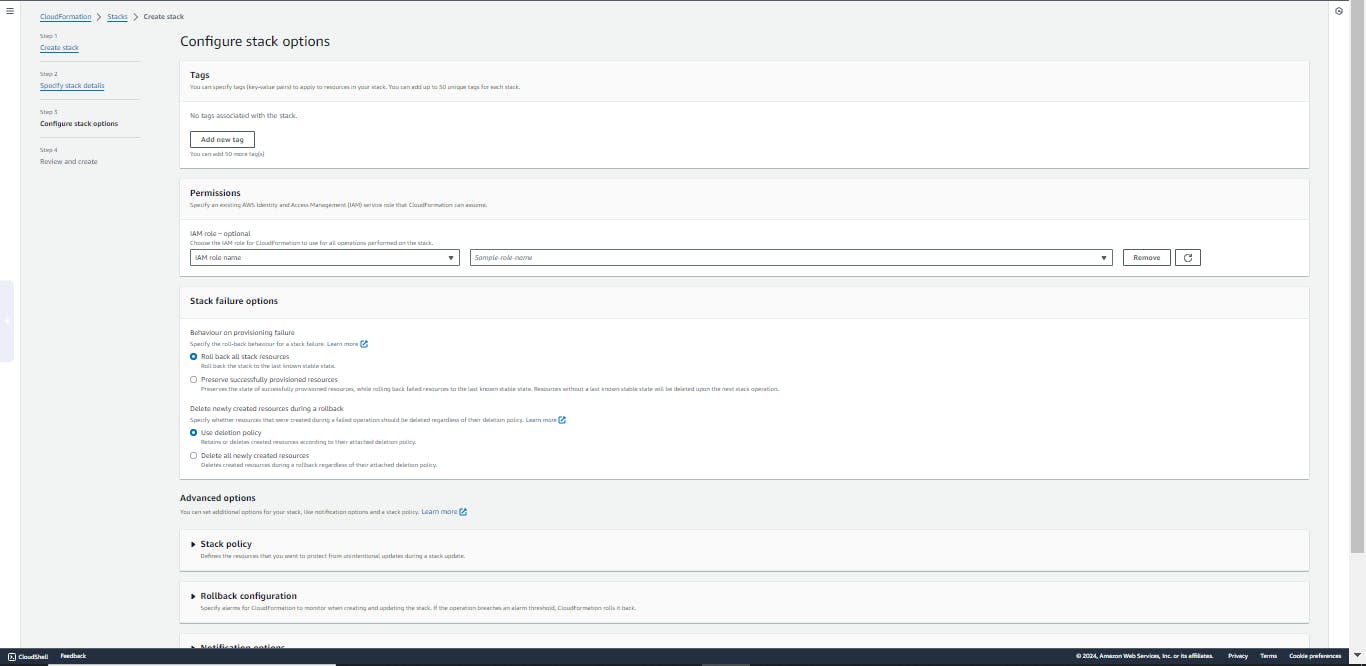
After adding the stack name, you will be directed to the 'Configure Stack Options' page where you'll simply click 'Next'
The final step is to review your configurations on the 'Review and Create' page then click 'Submit'

This is the final page that shows the progress of your stack creation process
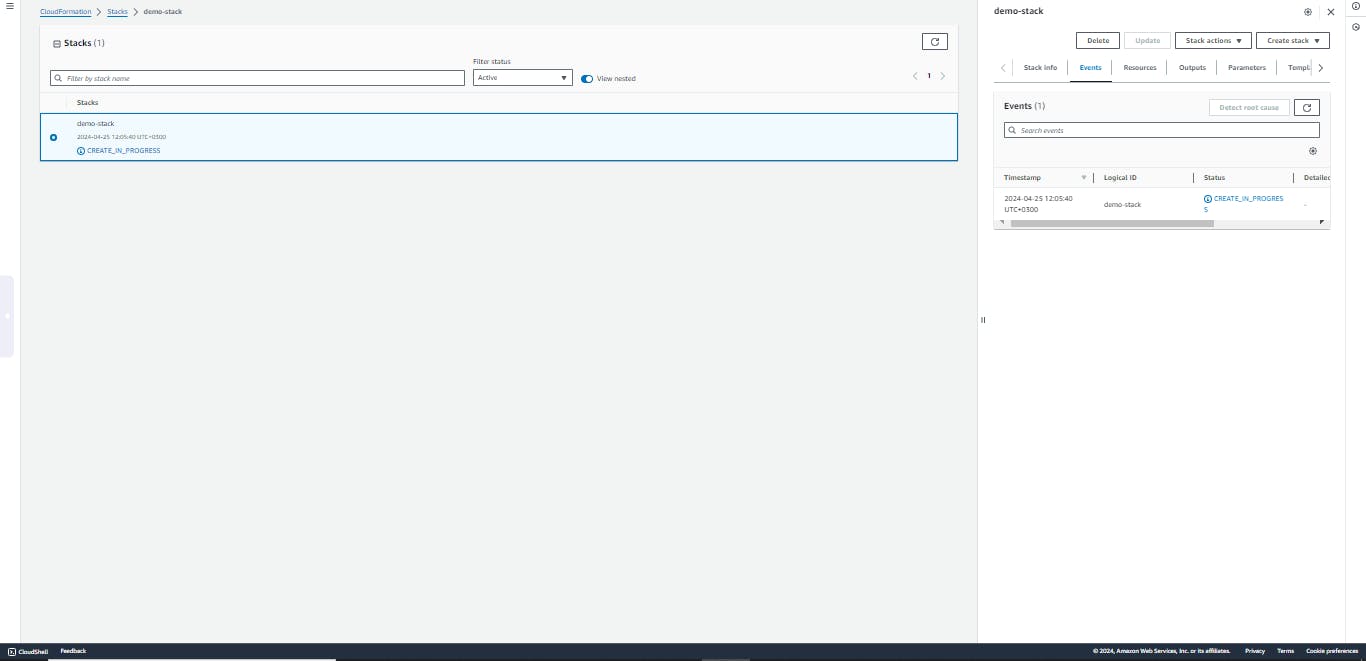
How to Monitor and Troubleshoot Stack Creation
CloudFormation Console: The CloudFormation console for every service you deploy will show real-time updates of all the resources created in your stack creation process. (A stack acts as a blueprint for your infrastructure and might include resources such as s3 buckets, ec2 instances, lambda functions, databases and more)
Events Tab: This tab contains information about each step in your resource creation process.
There's nothing as disheartening as seeing a "Stack creation failed: Resource creation failed" error followed by the dreaded "Rollback in progress" message. Trust me, it's a common experience in the world of CloudFormation.
The 'Events' tab help you monitor the entire stack creation process. This will aid in troubleshooting deployments such as having to access logs and identify errors associated with your ec2 instance userdata scripts after instance creation.
Status Checks: Monitor the stack status to ensure successful creation. If you intend to delete a resource or revert to your resource's previous version, you simply apply a rollback. It is a built-in feature that protects your infrastructure during stack creation or update fails.
In the next blogpost, we'll talk about Parameters